Want to turn a flat 2D image into a 3D printable model? With the right tool, converting a PNG image to an STL file takes three steps and no 3D modeling experience. This guide shows how to do it using Autoconverter, which also supports JPEG, BMP, and GIF as source formats.
The conversion works by interpreting pixel brightness as height - darker pixels become raised surfaces, lighter pixels stay flat. This makes it ideal for logos, text, topographic maps, relief art, and any design that can be expressed as a grayscale heightmap.
How Grayscale Image to STL Conversion Works
Unlike standard 3D modeling, image-to-STL conversion uses a technique called heightmap extrusion. The converter reads each pixel's brightness value (0 = black, 255 = white) and maps it to a height on the Z axis:
- Black pixels (dark areas) become the highest raised surfaces in the 3D model
- White pixels (light areas) become the lowest or flat areas
- Gray shades produce intermediate heights, creating smooth gradients in the surface relief
The result is a 3D mesh where surface height directly corresponds to image brightness - a technique widely used for relief plaques, lithophanes, topographic terrain, embossed logos, and decorative tiles.
How to Convert PNG to STL: Step-by-Step
📂 Open Your Image in Autoconverter

Download and install Autoconverter, then launch it from the Windows Start menu. Click Open… and select your grayscale PNG, JPEG, BMP, or GIF image file.
For best results, prepare your image before opening:
- Convert the image to grayscale in any image editor before importing - color images are converted to grayscale automatically, but manual conversion gives you more control over the final height distribution.
- Increase contrast so dark and light areas are clearly separated - low-contrast images produce flat, indistinct 3D results.
- Use a resolution of at least 300×300 pixels for clean geometry - very small images produce blocky, low-detail STL output.
⚙️ Preview the Generated 3D Shape
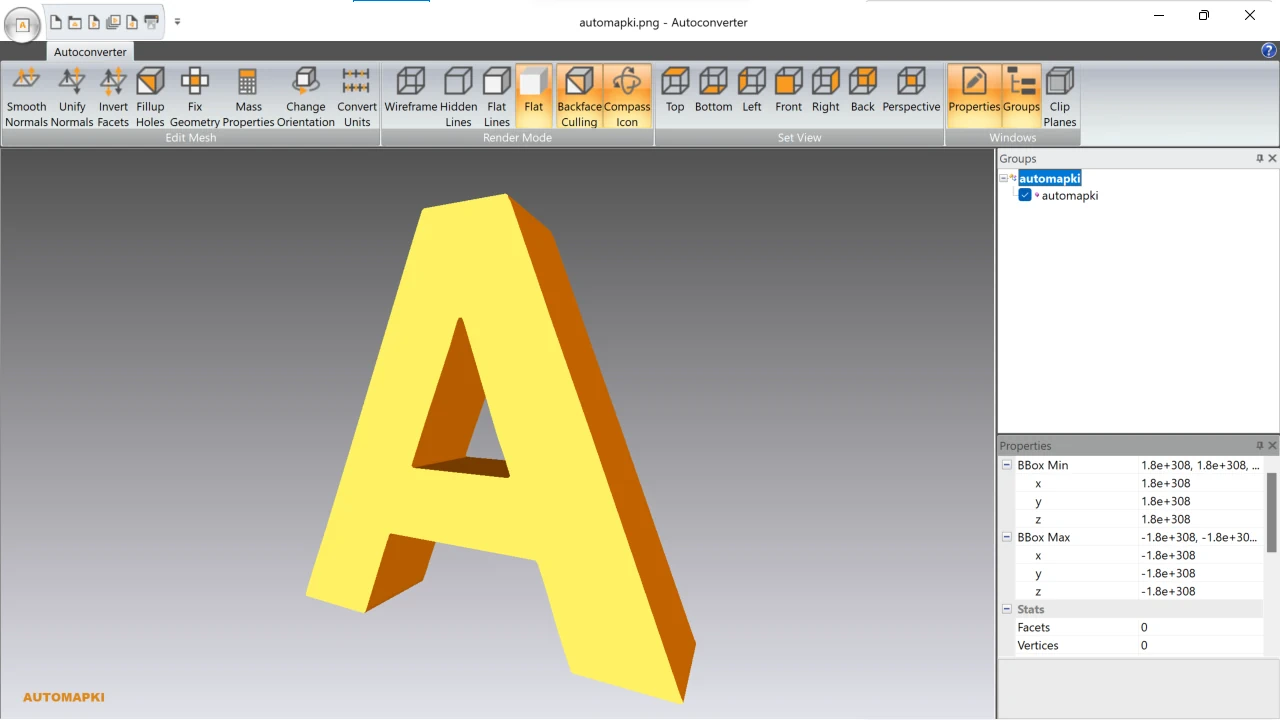
After opening the image, Autoconverter analyzes pixel brightness, extracts contours, and generates a heightmap mesh automatically. The 3D model appears in the viewport - use zoom, pan, and rotate to inspect the relief before exporting.
If the result looks inverted (raised where it should be flat), your image may need its brightness inverted in an image editor before reimporting.
💾 Export to STL

Click Save As… and select STL (*.stl) as the output format. Choose your filename and destination folder, then click Save. The STL file is immediately ready for use in any slicing software (Cura, PrusaSlicer, Bambu Studio) or CAD application.
Tips for Better PNG to STL Results
- Use high contrast images - clear black-and-white distinction produces sharper, more defined relief geometry than low-contrast grayscale images.
- Use higher resolution source images - more pixels mean finer mesh detail in the STL output. Images under 100×100 pixels produce very blocky geometry.
- Invert if needed - if the output model is raised where you want it flat (or vice versa), invert the image brightness in any image editor before reimporting.
- Export to OBJ or STEP instead of STL - if you want to import the heightmap result into Blender, SketchUp, or a CAD tool rather than print it, choose OBJ or STEP as the output format. Autoconverter supports both from the same image input.
Frequently Asked Questions
-
Does the PNG need to be grayscale before converting to STL?
Autoconverter accepts color images too. But for more predictable results, convert the image to grayscale manually in Photoshop, GIMP, or another image editor first - this lets you control exactly which tones become raised geometry.
-
Can I also convert JPEG and BMP images to STL, not just PNG?
Yes. Autoconverter supports PNG, JPEG, BMP, and GIF as input formats for STL conversion. The process is identical for all four formats.
-
What slicing software can I use with the exported STL?
The output STL file works with all major slicers including Cura, PrusaSlicer, Bambu Studio, Simplify3D, and Chitubox for resin printing. Open the STL, scale it to your desired print size, and slice as normal.
-
Can I export to formats other than STL?
Yes. Autoconverter can export the generated 3D model to OBJ, STEP, SKP, FBX, DAE, and other formats from the same image input - useful when the model needs further editing in a 3D application rather than direct printing.
-
Is there a free trial?
Yes. The free evaluation version of Autoconverter supports up to 10 file conversions. The full licensed version provides unlimited conversions.
Summary
Converting a PNG image to STL is a three-step process in Autoconverter - open the image, preview the heightmap, export to STL. The same workflow works for JPEG, BMP, and GIF inputs. Prepare your source image with good contrast and sufficient resolution for the cleanest 3D output, and use the Tips section above to troubleshoot common issues like inverted relief or blocky geometry.
👉 Ready to convert? Download Autoconverter and try it free for up to 10 conversions.