STL files store geometry as a triangle mesh - great for 3D printing, but not directly usable as an editable solid in AutoCAD, SolidWorks, BricsCAD, or other CAD tools that require ACIS-based solid bodies. Converting STL to SAT (Standard ACIS Text) transforms the mesh into a proper 3D solid that supports Boolean operations, section planes, mass property analysis, and all standard CAD solid editing commands.
This guide shows how to convert STL to SAT in five steps using Autoconverter, including the mesh repair step that determines whether the output SAT contains a valid closed solid or an empty shell.
Why Mesh Repair Is Required Before Converting STL to SAT
SAT solid bodies are defined by the ACIS kernel as closed, bounded volumes. For Autoconverter to generate a valid SAT solid from an STL mesh, the mesh must be completely watertight - every edge shared by exactly two faces, no holes, no gaps, and no overlapping triangles.
Most real-world STL files - from 3D scanners, online repositories, or exported from other tools - don't meet these requirements. The three most common problems are:
- Open boundaries (holes) - edges with only one adjacent face, creating gaps in the mesh surface. These are the most frequent cause of STL-to-SAT failures.
- Non-manifold edges - edges shared by three or more faces, which violate the topological requirements for a valid solid body.
- Self-intersecting triangles - faces that pass through other faces, creating geometry that no solid modeling kernel can resolve into a valid volume.
Running Autoconverter's mesh repair tools before exporting to SAT is not optional for most real-world STL files - it's the step that determines whether the conversion succeeds.
How to Convert STL to SAT: Step-by-Step
📥 Download and Install Autoconverter
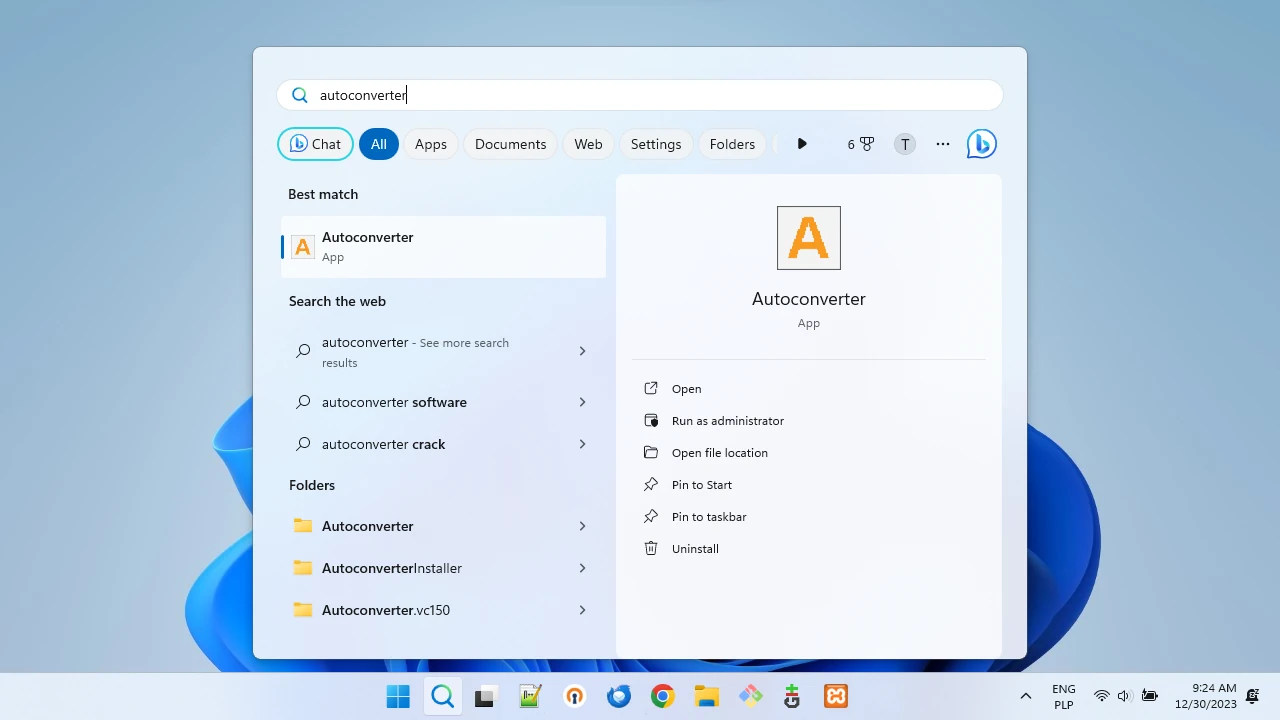
Download Autoconverter and install it on Windows. It reads STL files (both ASCII and binary formats) and exports SAT natively. No CAD software installation is required.
📂 Open Your STL File
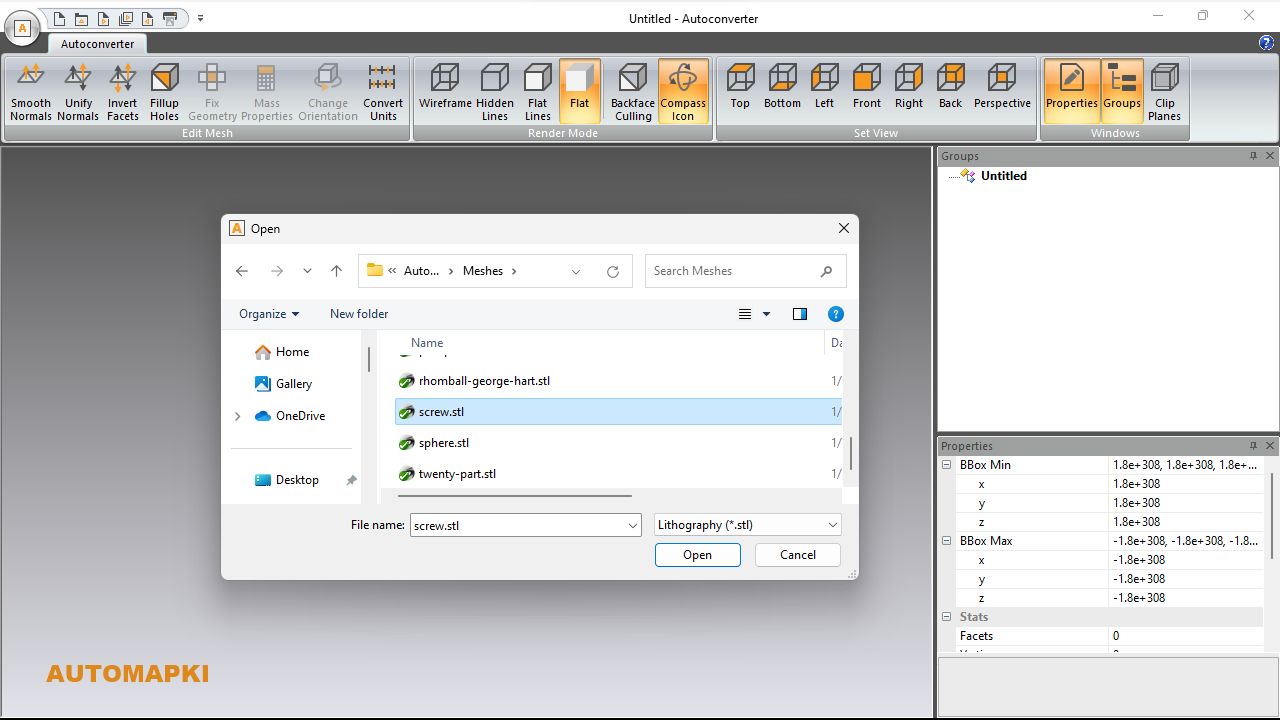
Click Open… and select your .stl file, or drag and drop it into the application window. The mesh loads into the 3D viewport. Inspect it visually before proceeding - visible holes or obvious mesh errors are a sign that repair will be needed.
🔧 Repair the Mesh
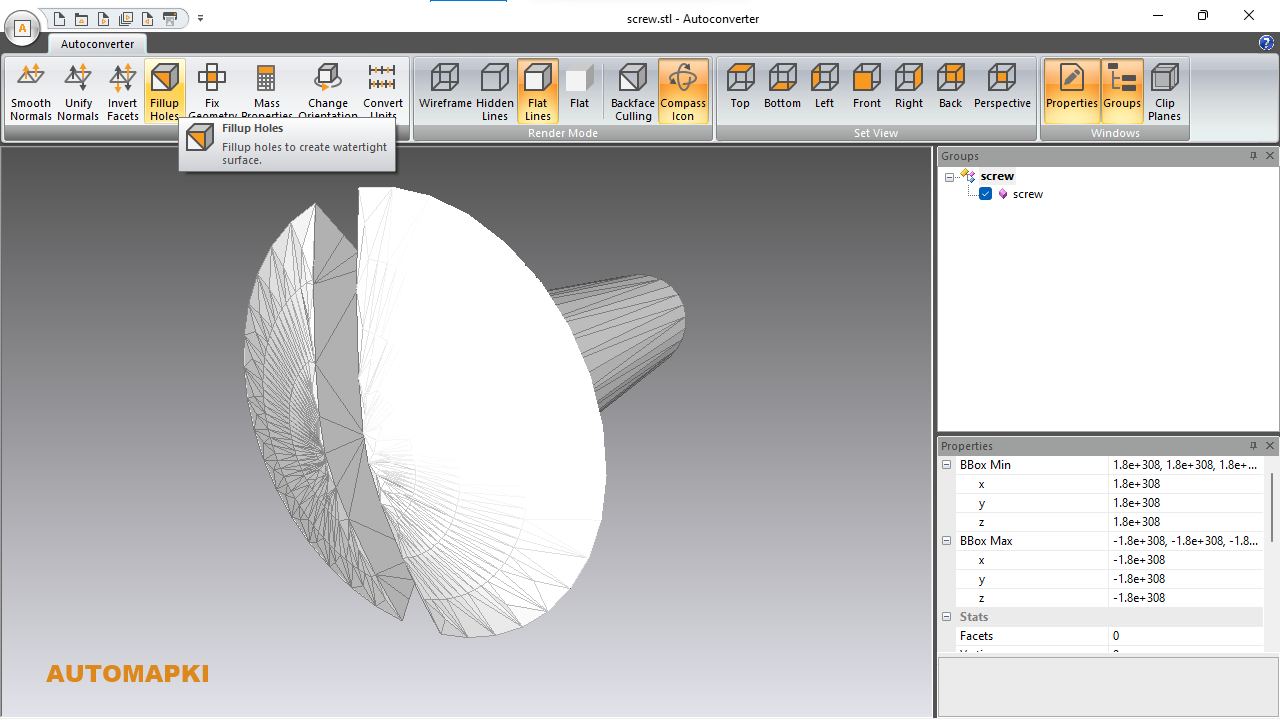
Before exporting to SAT, run the built-in mesh repair tools to make the mesh watertight:
- Fix Geometry - detects and repairs non-manifold edges, degenerate triangles, flipped face normals, and duplicate vertices that would prevent a valid solid body from being generated in SAT output
- Fill Holes - closes open boundaries by generating new triangular faces that patch each boundary loop, making the mesh a completely closed surface
After repair, visually reinspect the mesh in the viewport. If the model still has visible gaps or the repair tools report remaining errors, the STL may have severe geometry problems that require manual mesh editing before conversion is possible.
📤Export to SAT Format
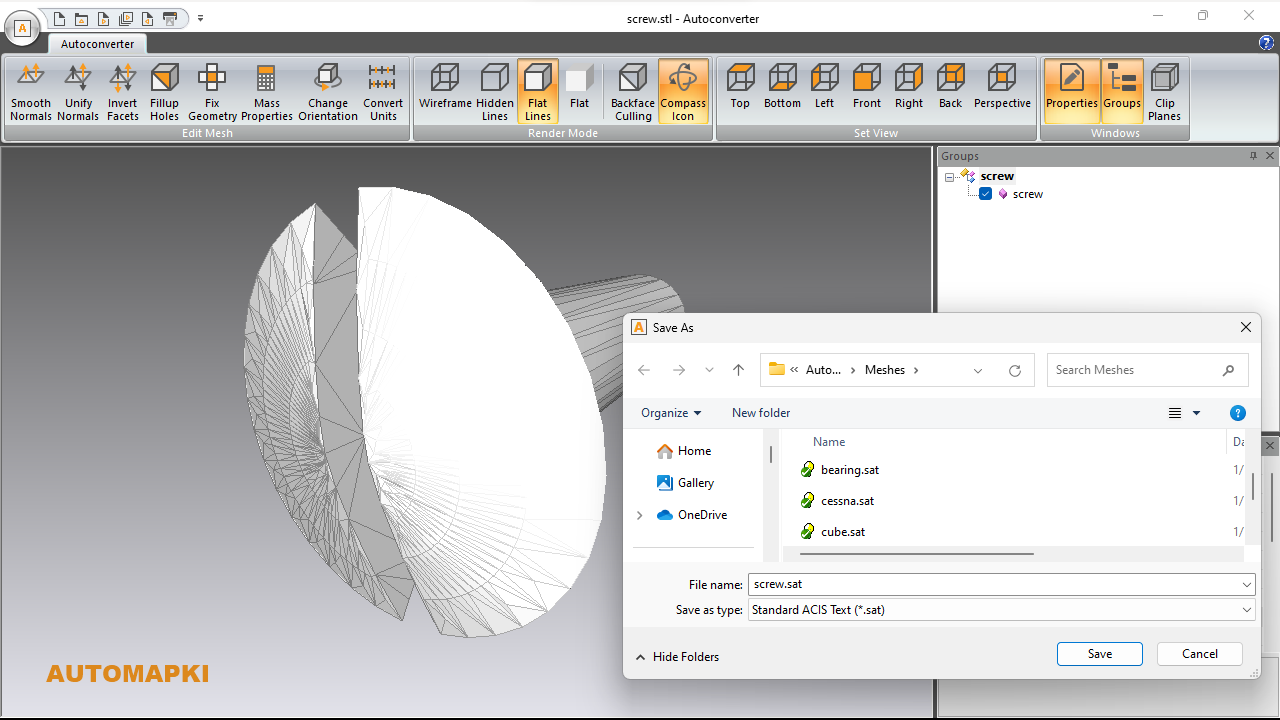
Click Save As… and select SAT (*.sat) from the file type dropdown. Choose your output filename and destination, then click Save. Autoconverter writes the mesh as faceted BREP (Boundary Representation) entities in the SAT file - the representation used by AutoCAD's 3DSOLID objects.
🖥️ Import the SAT File into Your CAD Application
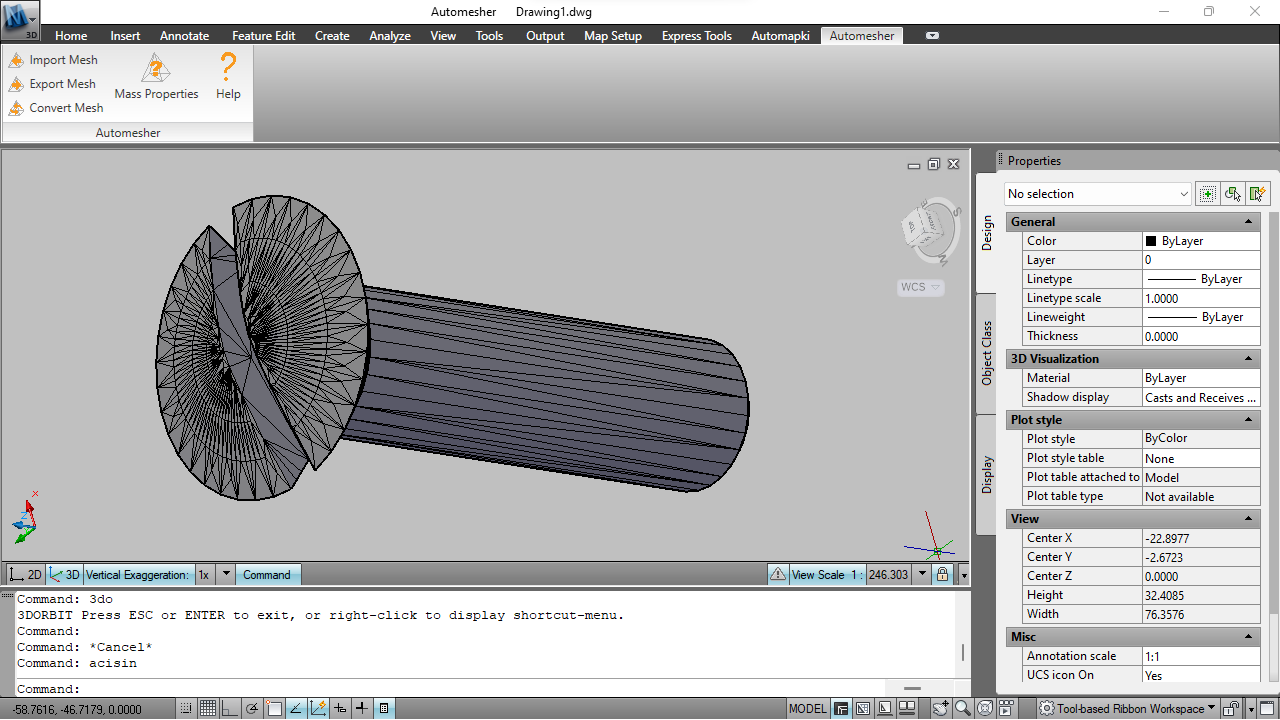
Import the SAT file into your AutoCAD using the ACISIN command. Verify the imported solid by running the MASSPROP command - a valid closed solid returns non-zero volume and centroid values. If it returns no results, the SAT contains an unclosed shell rather than a solid body, which means the mesh still had repair issues.
Frequently Asked Questions
-
Why does AutoCAD import my SAT file as a surface shell instead of a 3D solid?
This happens when the original STL mesh was not fully watertight - the SAT file contains an unclosed shell rather than a closed solid body. Re-run the Fill Holes and Fix Geometry tools in Step 3 on the original STL, then reconvert to SAT and try the ACISIN import again.
-
What is the difference between STL to SAT and STL to STEP?
Both produce solid geometry output from an STL mesh. SAT is AutoCAD's native format (imported via ACISIN command); STEP is the ISO-standard engineering format accepted by SolidWorks, CATIA, Creo, and most other CAD tools. If your target is standard AutoCAD, SAT is the most direct path. For cross-application engineering workflows, STEP is preferred. Autoconverter supports both output formats from the same STL source.
-
Can I convert STL to SAT without a CAD software installation?
Yes. Autoconverter is a standalone Windows application - no AutoCAD, SolidWorks, or other CAD software needs to be installed on the conversion machine.
-
Is there a free trial?
Yes. The free evaluation version of Autoconverter supports up to 10 file conversions. The full licensed version provides unlimited conversions and batch processing.
Summary
Converting STL to SAT solid requires a watertight mesh - the repair step is the key to a successful conversion. Autoconverter handles mesh repair (Fix Geometry + Fill Holes) and SAT export in five steps, producing solid body output that imports correctly in AutoCAD, BricsCAD, ZWCAD, SolidWorks, and Inventor via the ACISIN command or native SAT import.
👉 Ready to convert? Download Autoconverter and try it free for up to 10 conversions.