AutoCAD does not export to ESRI SHP shapefiles natively. If you need to move DWG geometry into ArcGIS, QGIS, or any other GIS platform that works with shapefiles, you need a dedicated conversion tool that handles both the geometry translation and the coordinate system reprojection.
This guide shows how to export AutoCAD DWG to SHP in five steps using Automapki Application, a plugin for AutoCAD, BricsCAD, ZWCAD, and GstarCAD. Each DWG layer is exported as a separate SHP file, preserving your drawing's organizational structure in the GIS output.
Why Coordinate System Assignment Is Essential
ESRI shapefiles store coordinates in a defined geographic or projected coordinate reference system (CRS). When you export DWG geometry to SHP without assigning the correct source CRS, the shapefile either contains raw local coordinates with no spatial reference - making it unusable in ArcGIS or QGIS - or it gets placed in the wrong geographic location.
How to Export DWG to SHP: Step-by-Step
📥 Install Automapki Application
Download and install Automapki Application for your CAD platform - AutoCAD, BricsCAD, ZWCAD, or GstarCAD. After installation, restart your CAD application to autoload the plugin. A dedicated Automapki ribbon tab appears confirming the plugin is active.
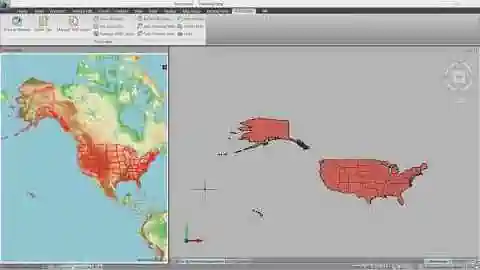
🚀 Open Your DWG Drawing
Open the DWG drawing containing the geometry you want to export to SHP. The drawing should contain georeferenced data - points, lines, polylines, or polygons representing real-world features drawn in a known coordinate system.
🌎 Run AmExportMap Command
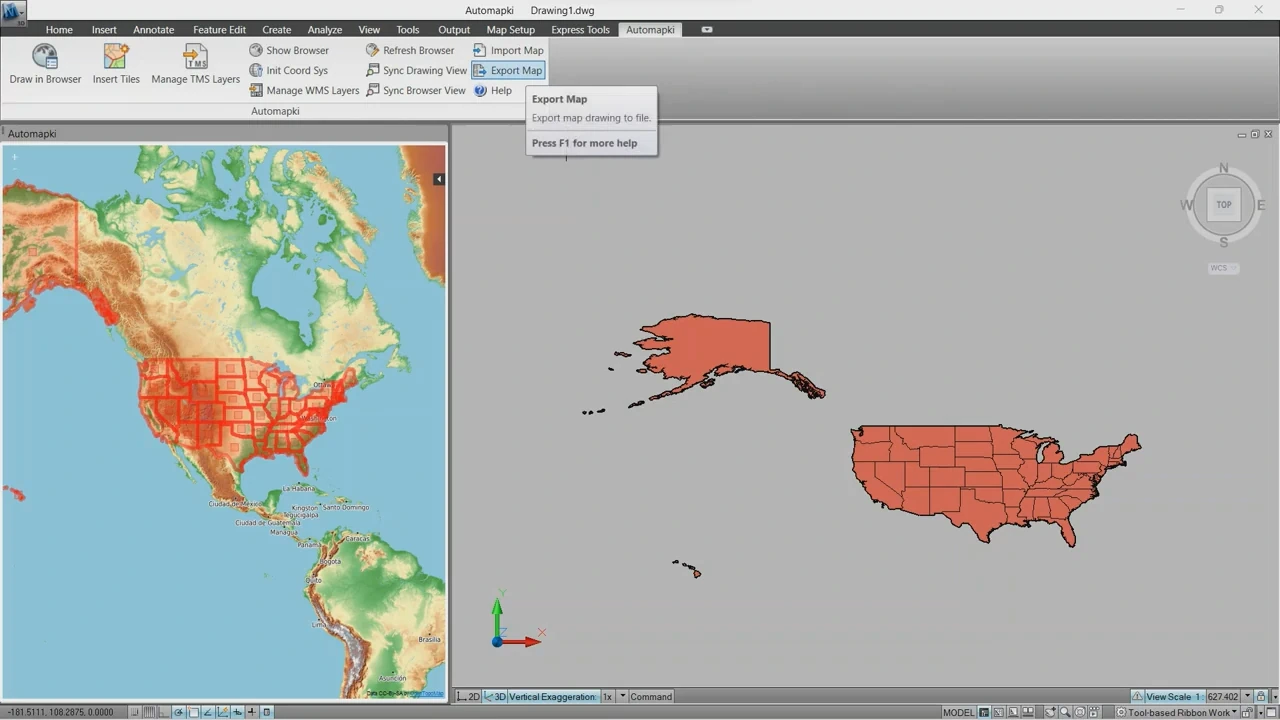
Type AmExportMap in the AutoCAD command line and press Enter, or click the Export Map button in the Automapki ribbon. This opens the export dialog.
🔍 Assign Coordinate Reference System
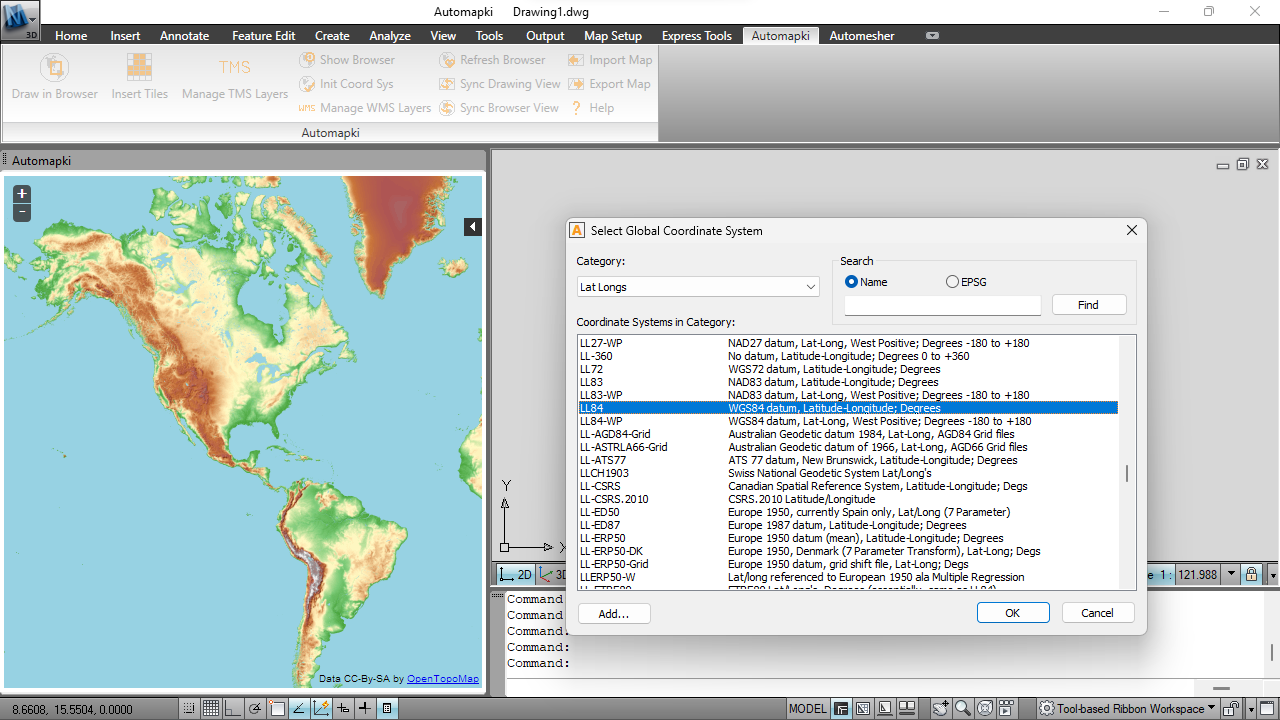
Select the coordinate reference system that matches your DWG drawing from the library of over 3,000 predefined options - national grids, state planes, UTM zones, local CRS, and more. This is the most important step: the CRS you select tells Automapki how to interpret the raw coordinates in the DWG and reproject them into geographic space.
If you are unsure which CRS your drawing uses, check the drawing's title block, survey metadata, or ask the GIS or surveying team who produced the original data. An incorrect CRS will place the exported SHP in the wrong geographic location.
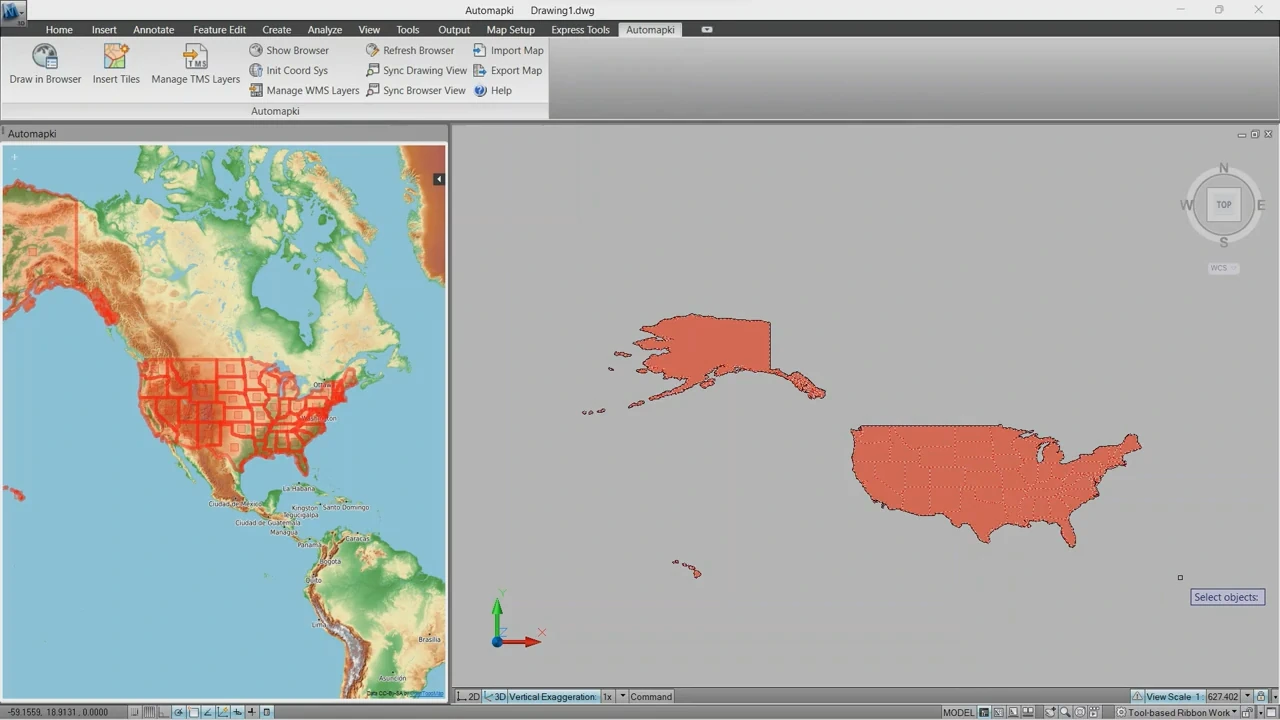
💾 Select Entities and Export to SHP
Select the drawing entities you want to include in the SHP export - individual objects, a specific layer selection, or all geometry in the drawing. Choose your output folder, set the filename, and click OK to export.
Automapki exports each drawing layer as a separate SHP file. A layer containing lines produces a polyline shapefile; a layer containing closed polygons produces a polygon shapefile; point entities produce a point shapefile. Block attributes and entity attributes are exported as SHP attribute columns in the accompanying DBF file.
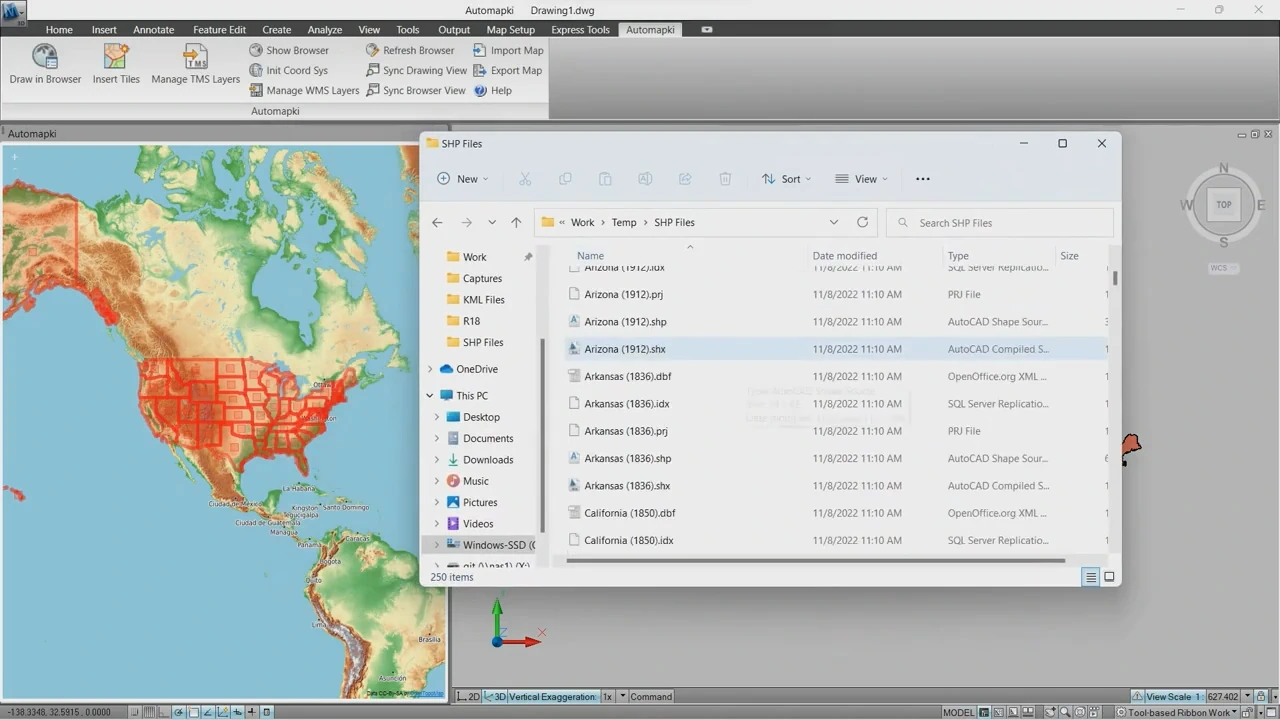
What SHP Export Produces
Each exported shapefile consists of several files that must be kept together:
- .shp - the geometry file containing coordinates and shape data
- .dbf - the attribute table containing entity properties, block attributes, and layer names
- .shx - the index file for fast geometry access
- .prj - the projection file defining the coordinate reference system of the shapefile
All four files are required for the shapefile to open correctly in ArcGIS, QGIS, or other GIS platforms. Keep them in the same folder at all times.
DWG vs SHP: Key Differences
| Feature | DWG (AutoCAD) | SHP (ESRI Shapefile) |
|---|---|---|
| Primary use | Engineering and design drafting | GIS spatial data storage |
| Geometry types | Lines, arcs, splines, solids, text, blocks | Points, polylines, polygons (one type per file) |
| Coordinate system | Local or arbitrary origin | Defined geographic or projected CRS |
| Attribute data | Block attributes, entity properties | DBF attribute table (field-value pairs) |
| Layer organization | Named layers | Separate SHP file per feature type/layer |
| GIS platform support | Limited (CAD import only) | Universal (ArcGIS, QGIS, MapInfo, etc.) |
| Curved geometry | ✅ Arcs and splines | ❌ Straight-line approximation only |
Frequently Asked Questions
-
Does AutoCAD export SHP files natively?
Standard AutoCAD does not support SHP export. AutoCAD Map 3D and Civil 3D include limited GIS export tools, but they require additional configuration and are not available in standard AutoCAD. Automapki adds direct SHP export to standard AutoCAD, BricsCAD, ZWCAD, and GstarCAD with full CRS support.
-
Why does my exported SHP appear in the wrong location in ArcGIS or QGIS?
This is caused by an incorrect coordinate reference system assignment in Step 4. The DWG geometry is being reprojected from the wrong source CRS. Reassign the correct CRS that matches your drawing's coordinate system and re-export the SHP.
-
Can I export only specific layers from the DWG to SHP?
Yes. The AmExportMap command accepts selective entity and layer-based export. Select only the entities from the layers you want to include, and only those features will appear in the output SHP files.
-
Does the SHP export preserve block attributes from the DWG?
Yes. Block attributes and entity properties are exported as attribute columns in the SHP's accompanying DBF file, making them available as attribute data in ArcGIS and QGIS.
-
Can I also import SHP files back into AutoCAD?
Yes. Automapki supports bidirectional conversion - use the AmImportMap command to import SHP shapefiles into an active DWG drawing with coordinate system transformation. See the SHP to AutoCAD import guide for details.
-
Is there a free trial?
Yes. Automapki Application is available as a free evaluation download with no time limit on the trial period.
Summary
Exporting AutoCAD DWG drawings to ESRI SHP shapefiles requires proper coordinate reference system assignment - without it, GIS platforms cannot place the geometry correctly. Automapki handles CRS reprojection from a library of 3,000+ reference systems, exports each layer as a separate SHP file with full attribute data, and works identically in AutoCAD, BricsCAD, ZWCAD, and GstarCAD.
👉 Ready to export? Download Automapki Application and try it free.