Point cloud data from LiDAR scanners, photogrammetry software, and 3D scanning pipelines consists of raw XYZ coordinates - spatial positions with no face connectivity. Converting that raw point data to a connected polygon mesh (STL, OBJ, SKP, or other formats) is the essential step before the geometry can be used for 3D printing, CAD editing, visualization, or reverse engineering.
This guide shows how to reconstruct a 3D mesh from XYZ and ASC point cloud data using Autoconverter, covering the normal vector requirement that determines mesh quality, the export formats available, and the workflows this conversion supports.
The Normal Vector Requirement for Mesh Reconstruction
This is the single most important technical detail for point cloud to mesh conversion: normal vectors must be present in the source file for clean mesh output.
A normal vector is a per-point direction vector indicating which way the surface faces at that location. The mesh reconstruction algorithm uses normals to determine surface orientation when connecting points into triangular faces.
How to Convert Point Cloud to STL: Step-by-Step
📥 Download and Install Autoconverter
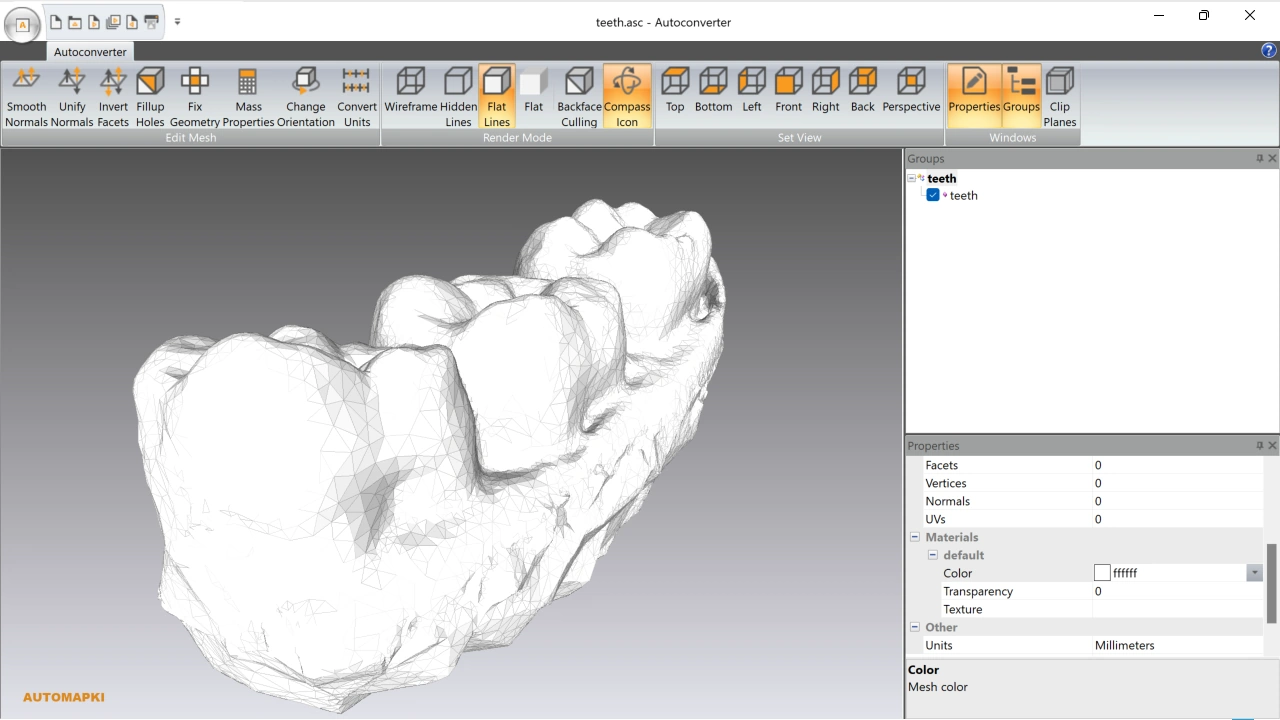
Download Autoconverter and install it on Windows. Launch it from the Windows Start menu. It reads XYZ, ASC, and PLY point cloud formats natively - no additional software required.
📂 Open Your Point Cloud File
Click Open... and select your .xyz, .asc, or .ply file. The point cloud loads into the 3D viewport as a cloud of points. For large point clouds, Autoconverter may downsample the preview display while using the full dataset for mesh generation.
Inspect the loaded points visually - they should outline the shape of the scanned surface. If the cloud looks incomplete or scattered, check the original scan data before proceeding.
✅ Verify Normal Vectors Are Present
Confirm that your point cloud file includes per-point normal vectors as described above. If normals are missing, compute them in CloudCompare and re-open the file with normals included. This step cannot be skipped for acceptable mesh output.
🧊 Export to STL, OBJ, or Another Mesh Format
Click Save As... and select your output format. Autoconverter reconstructs the triangle mesh from the point cloud data using the normal vectors for surface orientation, then saves the output file:
- STL - for 3D printing (FDM, resin, SLS) and additive manufacturing services
- OBJ - for Blender, Maya, and general 3D modeling and rendering tools
- SKP - for SketchUp architectural modeling and presentation
- PLY - for mesh analysis tools and 3D scanning workflows
- DAE - for Collada-compatible applications
- 3DM - for Rhinoceros 3D surface modeling
Frequently Asked Questions
-
Why does my reconstructed mesh have holes or incorrect faces?
The most common cause is missing or incorrectly oriented normal vectors in the source point cloud. Without normals, the mesh reconstruction algorithm cannot determine surface orientation, producing inverted faces or gaps. Compute normals in CloudCompare (Edit > Normals > Compute) and re-export the XYZ file with normals before converting.
-
Can I convert LAS or LAZ LiDAR files directly?
Autoconverter reads XYZ, ASC, and PLY formats. For LAS/LAZ input, first convert to XYZ using CloudCompare, LAStools, or another LiDAR processing tool, then use Autoconverter for the XYZ-to-mesh step. Export the XYZ file with normals included for best results.
-
How dense does the point cloud need to be for good mesh output?
Point spacing of 5–20mm is typically sufficient for architectural-scale surfaces. For smaller objects (mechanical parts, artifacts), point spacing of 0.5–2mm is more appropriate. Very sparse clouds produce coarse mesh with visible triangulation artifacts; extremely dense clouds produce large output files that may be slow to process. Down-sampling to a consistent spacing in CloudCompare before converting often improves both quality and performance.
-
Is there a free trial?
Yes. The free evaluation version of Autoconverter supports up to 10 file conversions. The full licensed version provides unlimited conversions and batch processing.
Summary
Converting XYZ or ASC point cloud data to STL, OBJ, SKP, or other mesh formats requires per-point normal vectors in the source file - without them, mesh reconstruction produces unusable geometry. Autoconverter handles the conversion in four steps. For 3D printing, use Fix Geometry and Fill Holes repair tools if the slicer reports mesh errors in the output STL.
👉 Ready to convert? Download Autoconverter and try it free for up to 10 conversions.